Releasing big features is exciting and worth celebrating. If you’re not using video for your product launches or feature releases, you’re missing out! Using a product video is a great way to boost brand affinity and get more people excited about it.
A great video can help you stand out and *wow* your audience. Videos have powerful storytelling abilities and can be a lot more engaging than other types of content.
A 2016 study showed that 79% of B2B businesses use video in their marketing (it’s sure to have gone up since then).
One of the big things holding teams back from using video is the cost required to create it (time and money).

Compared to text and images in a blog post, it seems much higher.
We’ re not talking about Hollywood productions with large crews and expensive equipment. Outsourcing your video production can cost thousands of dollars.
We’re talking about videos that get a message across in a fun and authentic way, without spending the big bucks.
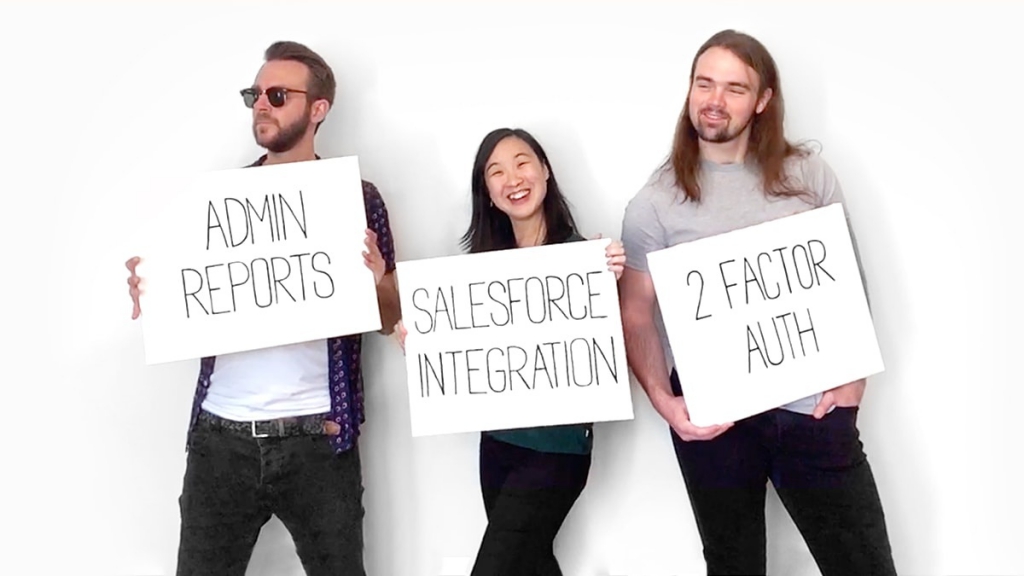
Here are a couple product videos our team has made. We use them for both feature releases as well as explainer videos on the feature landing page.
We made these with (basically) no time and no budget. Here’s how you can too.
Planning for your product video
This phase sets the stage for all your time and effort to come. Without proper planning, you’ll second guess and change your mind a lot down the road. Once you involve other people, changing your mind will be costly. So plan your video thoroughly from the start.
The Concept
Start by writing out a simple brief for yourself. What is the main message you want to convey in your video?
Here’s a simple outline to get you started:
- We’re releasing product or feature X
- This is the problem it solves
- Here’s how to use it
- Here’s why it’s awesome
Write down the key elements you want to cover. Then, we can start being creative.
Put together a quick moodboard to help kick-start those creative juices. Think about your feature or product in particular and its unique visual elements.

Having a moodboard is great for our next step: storyboarding.
We know not everyone is an artist but if you can draw a stick person, you can put together a storyboard. Try to come up with at least three unique concepts and draw some basic thumbnails. Here are our storyboards from our most recent video:

For our videos, we try to include at least a couple segments with people in them. As humans, we naturally gravitate towards other people. Having people in our videos makes it more relatable and, well, human. Videos about software can easily get dull and boring. Use people to add some excitement to what you’ve built.
People have short attention spans. Keep your product videos short and sweet. You shouldn’t need that many frames to convey your concept.

When you’re ready, decide which concept you’ll move forward with. Think about which concepts are realistically achievable. The best ones are fun and engaging but also easy to execute.
For example, concept one included a rocketship blasting off. Not easy to get. Not as creative either.
We have not used stock video but it’s a completely viable way to get footage. However, we would caution using stock video too much. You don’t want your video to look too generic.
Concept three was our winner. It was fun and wouldn’t cost us much to pull off.
The Script
Now that you have your concept down, you can put together your script. You’ll want to refer to the same outline we used for creating the concept above.
The challenge here is condensing your script to only the most important pieces. We recommend aiming for around 200 words in your whole script. Get rid of sentences you don’t need and use short words.
Make sure you include a call to action at the end to push viewers to try out your product or feature.
Put everything together
Now you have your concept and script, you can put the two together. For every line in your script, jot down what will be happening in the video.

By the end, you should have a very clear view of how this video will play out. You’re now ready to get all your equipment in order.
Equipment
For the usual product video, we need:
- A video recording device
- An audio recording device
- Light
- People
- Props
- Editing software
Video recording device
We usually use an iPhone. I’d say the quality is good enough.
For our future product videos, we might look into borrowing a DSLR for that extra bump in quality.
Audio recording device
For our Intercom video, we used the microphone on some wired Apple earpods. We won’t do that again. If your actor wears it on them, it easily picks up sounds you don’t want like the rubbing on clothing.
We ended up investing in the Samson Go Mic which is only $30 on Amazon.

It’s also tiny and great for when you’re traveling.
We think it sounds great! We recorded the voiceover for our Changelog video with that microphone.
Light
No need to invest in fancy lighting equipment. Get up early and use natural light. Free! Or borrow lighting equipment from people you know if you’re lucky.
People
You do not need professional actors. Grab some teammates or even some nice friends.
Free!
Props
If you chose your concept wisely, props should be cheap. Put your DIY hat on and get creative.
In our Intercom video we spent $3 on confetti. In our Changelog video we spent $12 on a few canvases and markers.
Before shooting your product video
Before you begin shooting, you’ll want to make sure everything is in line and ready to go.
Plan the shoot(s)
Make sure you have a clear idea of exactly what footage you want. You don’t want to start editing and realize you need to bring everyone back for a missed scene.
- Which scenes are you recording?
- What order are you filming in?
- What is the dialog and action in each scene?
- Do you need any B-roll?
Write everything down so you have something to refer to during the shoot. Having a clear plan will ensure everything goes smoothly.
Set & props
Choosing the right set is important. It can drastically change the mood of your video. We recommend keeping things simple and filming against a solid-colored wall. This also helps keeping the attention on the actors.
Consider any external factors. If your location is very noisy and you need to capture dialog, you’ll need to figure out your recording setup. If there are unwanted shadows, you might want to shoot at a different time. Editing anything out will be much more difficult.
If you need to prepare your props, do that before film day. You don’t want to think about any missing pieces later.
Make sure you also plan out how you will be recording. We recommend using a tripod.

Once you have everything well thought-out, you are ready to start recording!
Shooting your footage
The shoot will be fairly straightforward as long as you’ve done your planning. Here are a few other things to bear in mind during your shoot.
Frame
It easy to crop your footage in post-production if you need to. It’s not easy to “zoom out” after the shoot is over. Make sure you capture more than enough in your frame during the shoot.
Multiple takes
Even if your first take seems good, do multiple takes. You don’t want to end up realizing there’s something wrong during editing. We like to keep the camera rolling almost the whole time. It’s easier and you never know when you might catch a great candid moment.
Speaking live
If your actor(s) will be saying their lines live, you can pull up the script on a screen and put it next to the camera. Be wary of reading it word for word. It might be obvious that they’re reading something. We recommend memorizing as much as possible.
Product shots
We do recommend including shots of the actual product in your video. Free tools like Loom and Soapbox add an overlay of you talking with your screen recording. We simply use QuickTime to do a screen recording.

The voiceover is recorded separately so we add it on top during editing.
Have fun with it!
Stick to your plan but leave room for improv within each scene. Especially with non-professional actors, keeping it loose will bring out more genuine takes. You don’t want your shots to look awkward. The energy on set should be fun and light!
Once you have your footage, you’re ready to edit everything together in post-production.
Post-production
This step is the most intimidating for a lot of people. Rest assured, there are a lot of tools and resources to help you.
Editing footage
We’re fortunate enough to have access to the Adobe Suite so we edit with Premier Pro. We definitely recommend it but this software isn’t cheap. There are free tools out there like iMovie but we haven’t tried them. Worth looking into it if you don’t have video editing software handy!
There are no real shortcuts here. Learn the basics you need to put your footage together. There are tutorials for everything.
For audio editing, we use Audacity.

Check out this video on how you can make your voiceover sound better with Audacity.
Background audio
For sound effects, we search free libraries like Freesound. It’s a great resource for the odd sound effect to boost the quality of your video.
For the musical background track, we like using Audio Jungle. You can download a sample of the track and drop it into your video to try it out. Good background tracks usually cost us around $20.
Subtitles
We highly recommend adding subtitles to your product video. Videos are often autoplaying without sound. You’ll want that added text to make sure people are getting your message. They’re also great for accessibility.
It’s really easy to add subtitles to your video. You just need to create a text file with the appropriate text along with the timestamps. There’s also cool tools out there like this one by Kapwing you can use to add subtitles to your video.
Show off your personality
I’m a big fan of product videos that show real personality and charisma. We like to add a little “outtake” at the very end of our videos.
It adds a little something without being disruptive. It rewards viewers who make it to the very end. We like to think we can put a smile on our viewer’s face.
That’s a wrap
…on the video creation part.
By now, you should have a stellar product video that you are excited to show off. We use our videos anywhere we can:
- Landing pages
- Blog posts
- Product Hunt launches
- Social media
- Help articles
You can even repurpose segments into GIFs for some channels if you prefer.

Your product video might not be as polished as a $5,000 one. However, you have created something that is truly authentic to your story. And, it cost next to nothing.
A video that is too polished can come off as obviously outsourced and impersonal. Especially as a small team, we like to stay scrappy and show that we’re proud of that.
We hope this post will inspire you to create more video content. You’ll find that you’ll get faster at the whole video creation process as you create more videos. So what are you waiting for??