

Imagine you’re building a puzzle. Each piece must fit perfectly to create the whole picture. Product feature planning is a lot like that. It’s about picking the right pieces (features) for your product puzzle. You want to make sure each feature makes sense for your users and helps them.
The big goal is to match what your product does (its features) with what your customers need and how they act. You need to really understand your customers. What do they like? What problems do they have? When you know this, you can start planning features they’ll love and use.
If your product’s features don’t match your customer’s needs, it’s like having puzzle pieces from different puzzles. They just won’t fit. To get it right, watch your customers closely, listen to what they tell you, and be ready to adjust your plan.
So, let’s dive in and learn how to do this step-by-step. By the end, you’ll see how getting this feature planning right can make a massive difference in creating a product that people really want.

Step 1: identify customer needs and behaviors
The first step in the product planning process is understanding what your customers need and how they behave. This insight helps to determine what features you should develop to effectively meet those needs.
Observe customer behavior
Start by watching how your customers interact with your product or similar products. Look for patterns in their behavior.
- What features do they use the most?
- Where do they seem to struggle or get frustrated?
- Which features are and aren’t intuitive?
Observing these behaviors gives you a clear picture of what’s working and what’s not. Focus on the core customer need.
Gather feedback
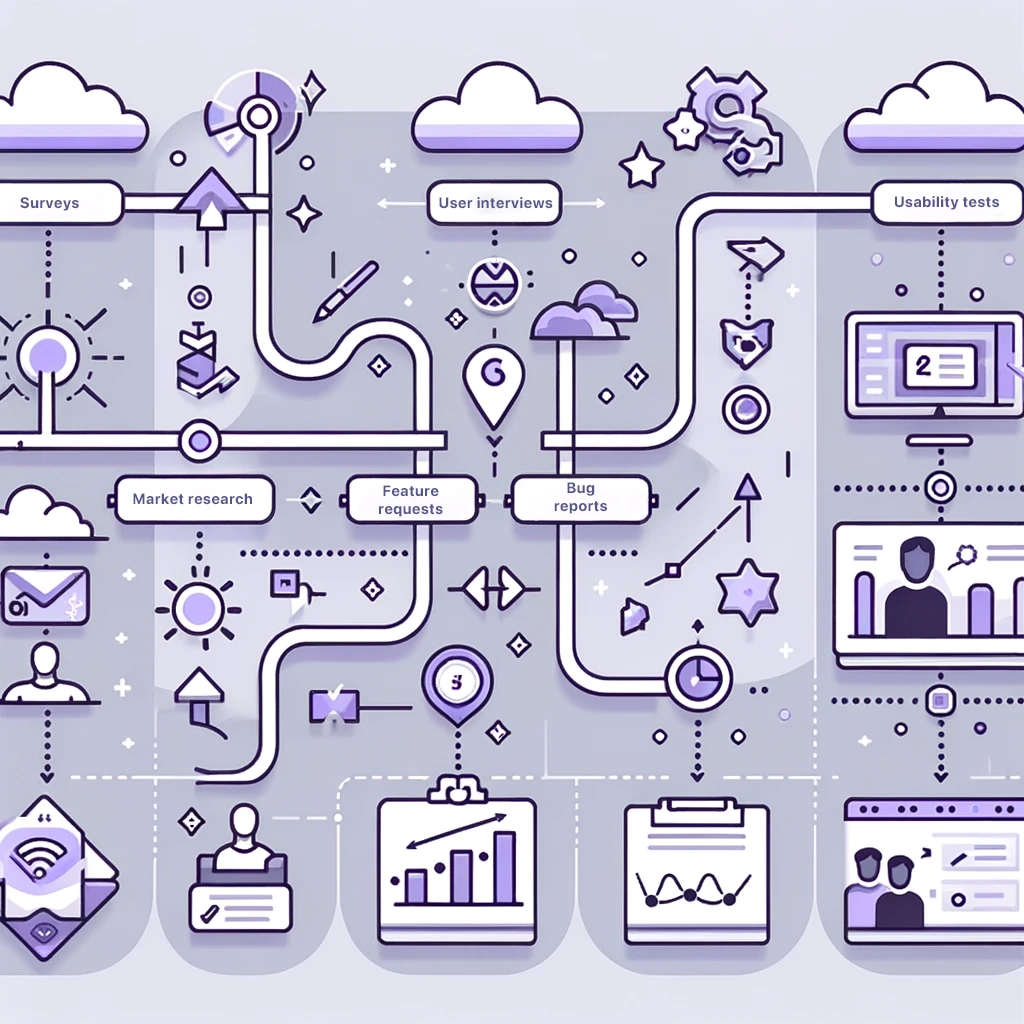
Feedback is gold in this process. Use every tool you have to collect it. This means:
- Reviewing feature requests
- Distributing surveys
- Conducting user interviews
- Performing usability tests
- Market research
Each method provides a different perspective on what your users want and need.
Provide a deep dive into individual experiences.
| Method | Benefit |
| Feature requests | Show what your users wish they could do with your product |
| Surveys | Give a broader view of user satisfaction, motivations, and desired improvements |
| User interviews | Provide a deep dive into individual experiences Offer detailed insights into user needs |
| Usability tests | Reveal where users face difficulties and what might be causing those issues |
| Market research | See what’s working (or not) with existing solutions |
Uncover detailed insights into user needs
Usability tests reveal where users face difficulties and what might be causing those issues.
The main goal here is to identify pain points. Pain points are problems that your customers face regularly. They’re the obstacles that prevent them from achieving their goals smoothly. Focusing on these pain points lets you prioritize features that solve these problems. Solving real problems for your users will make your product valuable and indispensable.
Step 2: conceptualize product features
The next step is to turn those insights into a concrete product idea. This involves two fundamental processes:
- Validating and prioritizing your ideas
- Using the proper methods, frameworks, and tools to support your planning
Validate and prioritize feature ideas
Not all feature ideas will be worth pursuing. Product managers need to validate each idea to make sure it’s something your customers truly need and will use. Ask questions like:
- Does this feature solve a real problem?
- Is it something a lot of users have asked for?
- Which users? Are they paying customers?
- How does it fit with the rest of the product?
After validating your ideas, prioritize them. Consider which features will significantly impact your users’ satisfaction and your product’s success. Think about factors like:
- Required effort to develop the feature
- Its potential to attract new users
- Its ability to retain existing ones
- How it aligns with your product’s overall goals
Methods, frameworks, and tools
Many methods and frameworks are out there to help you with feature prioritization.
For example, the RICE scoring model (Reach, Impact, Confidence, Effort) is a popular method for prioritizing features. It’s based on their expected benefit and the effort required to build them.

The Kano model is another tool that helps you understand which features will satisfy and delight users.

Explore more prioritization frameworks in our guide. It will help you choose the best framework for your unique business.

In terms of tools, Canny is a powerful platform that can support you in this step. It allows you to collect and manage user feedback in one place. This makes it easier to see which features are most requested by your users.
Once you have all the feature requests in one place, Canny can help you prioritize them. After that, you can quickly build a roadmap and get to work.
Canny also helps you track the progress of feature requests and communicate updates to your users. You can keep everyone engaged and informed.
Valuing and prioritizing your feature ideas effectively lays a strong foundation for a successful product.
Connect product requirements to user stories and epics
Start by linking the product requirements you’ve developed to user stories and epics. This helps ensure the feature addresses specific user needs and fits into the larger product narrative.
A user story describes the feature from the user’s perspective, explaining what they need and why.
An epic is a larger body of work that you can break down into smaller user stories. This connection is crucial for aligning the feature with user expectations and overall product goals.
Create a product roadmap
Develop a roadmap that outlines how the feature fits into the broader product strategy. This should include how the feature will evolve and relate to other planned features or updates. A product development roadmap helps keep everyone aligned and focused on the long-term vision for the product.

Step 3: articulate product features
The next step is to clearly define the features from the previous step. This means describing:
- What each feature does
- Why it’s necessary
- How it fits into the overall product strategy
Everyone involved, from your team to stakeholders, needs to understand the product vision and purpose of each feature. This is a core function of product management.
Set strategic alignment
First, ensure that each feature aligns with your product goal. Ask yourself how the feature supports your product’s mission and long-term objectives. This alignment ensures that the feature contributes to the overall direction and success of the product. It’s not just a nice-to-have.
Address user challenges
Each feature should address a specific user challenge or need from step 1. Clearly articulate how the feature will solve this problem or improve the user experience. This connection should be evident to anyone who reads the product requirements.
Detail the functionality
Describe in detail what the feature will do and how it will work from the user’s perspective. This includes the user interface, user interactions, and any changes to existing functionalities. A detailed description helps your development team understand what to build.
Set budget
Determine the budget for developing each feature. This involves estimating the costs associated with:
- Design
- Development
- Testing
- Deployment
Set a budget early. It helps to prioritize features and efficiently allocate resources.
Allocate resources
Decide which resources (team members, technology, etc.) you’ll need to develop the feature. Assign tasks to specific team members based on their skills and expertise. Think of any external resources that you may need.
Write product requirements
Finally, write down the product requirements for each feature. This document should include all the information mentioned above:
- Strategic alignment
- User challenges
- Feature addresses
- Detailed functionality
- Budget
- Resource allocation
Product requirements are a blueprint for the development team and a reference point for stakeholders.
Step 4: build the feature
It’s time to start building! This phase turns your product plan and feature idea into real, usable features for your product. Here’s how to approach it.
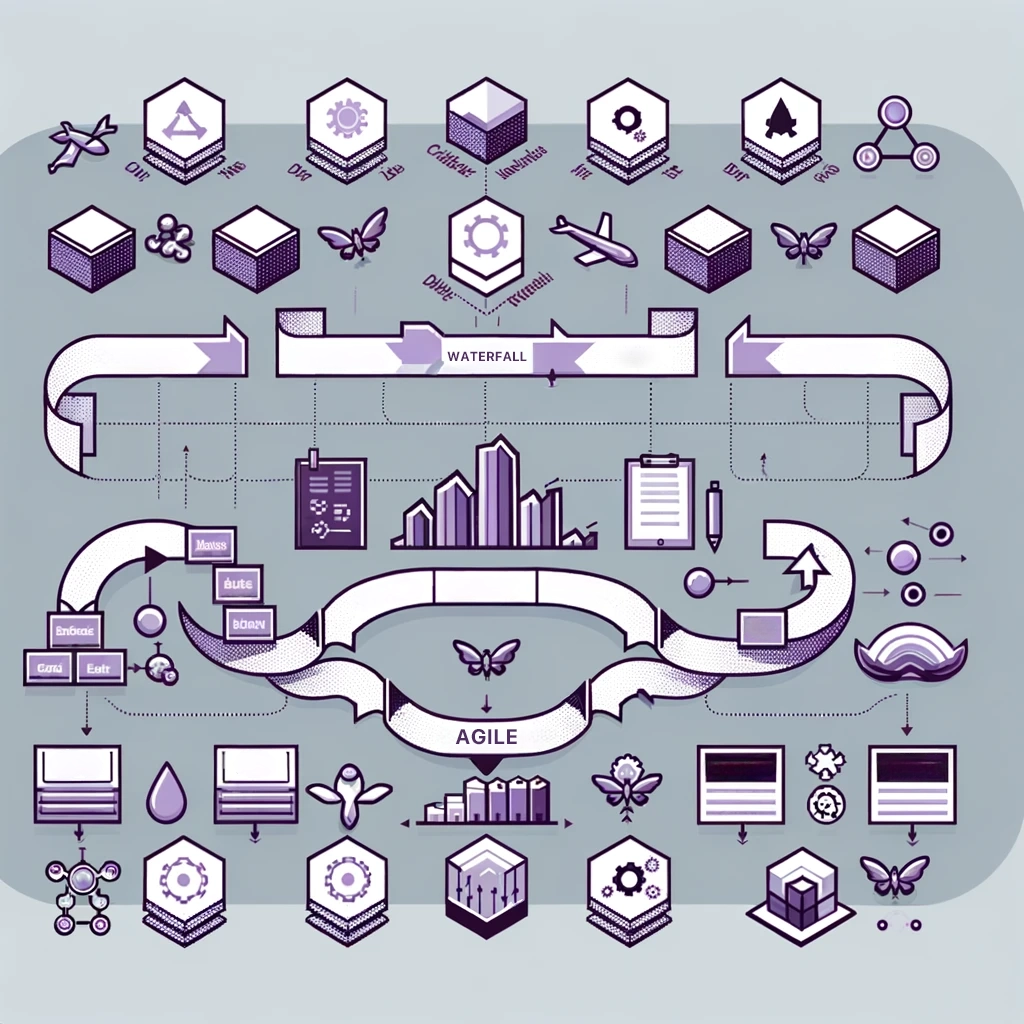
Agile, Waterfall, Sprint Planning
First, decide on a development methodology. Agile and Waterfall are two common approaches, each with its own benefits.
Agile methodology focuses on flexibility and continuous improvement through short cycles or sprints. It allows for regular feedback and adjustments.
Waterfall is more linear. You’re moving from one stage to the next after each is completed. This can be useful for projects with well-defined requirements.
Sprint planning is part of the Agile method. You break up tasks into smaller, manageable chunks to be completed in short time frames. This helps keep product teams focused. It’s also easier to regularly assess progress and quickly adjust.
Design
The design phase is where the team creates visual and interaction design. It’s important to keep user experience in mind. Ensuring the feature is visually appealing, intuitive, and easy to use. Design should always align with the overall product strategy and user needs.

QA (quality assurance)
Quality assurance is critical to ensure the new feature works as intended and doesn’t introduce any new issues into the product. QA involves systematic testing of the feature under various conditions and scenarios. It helps identify bugs and issues that need to be fixed before the feature can be released to users.
Feedback
Gathering feedback is crucial throughout the building process. This can come from internal team members, beta testers, or a select group of users. Feedback provides insight into how real users interact with the feature, what they like, and what could be improved.
Technical documentation
Finally, remember to create or update technical documentation. This should include:
- Detailed information about the feature
- How it works
- Any changes made to the system or codebase
Documentation is essential for future development and maintenance. It helps new team members understand the product’s features and architecture.
Step 5: plan the release
It’s time to plan the feature’s release. This stage is about preparing to bring your new feature into the hands of users. It requires careful coordination and clear communication across your team. Here’s how to go about it.
Build a release plan
A release plan outlines the steps needed for product launch. It includes:
- Timelines
- Key milestones
- Specific tasks required to move the feature from development to release
Make your plan detailed yet flexible, allowing for adjustments as needed.
Set goals
Define clear, measurable goals for the feature release. What do you hope to achieve? It could be:
- Improving user satisfaction
- Increasing engagement
- Addressing a specific user pain point
Having clear goals helps you focus your efforts and measure success post-release.
Define team roles
Clearly define the roles and responsibilities of team members involved in the release.
- Who is responsible for final QA testing?
- Who will handle marketing and communication?
Assigning specific tasks ensures you cover all aspects of the release and helps prevent last-minute surprises.
Establish timelines
Set realistic timelines for each stage of the release process. Include buffer time for unexpected delays or issues that may arise. Clear timelines help manage expectations and keep the team on track.
Plan product marketing
Finally, develop a marketing plan for your feature. This includes:
- How you’ll communicate the release to users
- Promotional activities you’ll undertake
- How you’ll gather and respond to user feedback post-release
Canny can help you post product updates and notify your users. It can also assist with actioning customer feedback you receive.

Step 6: plan for the unexpected
Even with the most careful planning, unexpected challenges can arise. It’s crucial to anticipate potential issues and have strategies to quickly address them. Here’s how you can prepare for and mitigate unexpected outcomes.
Identify unexpected outcomes
Begin by identifying what could potentially go wrong. This might include:
- Technical issues
- Development delays
- Negative user feedback
- Lower than expected engagement with the new feature
Acknowledging these possibilities upfront allows you to prepare more effectively.
Delays
Delays are common in product development. They come from:
- Underestimated task complexities
- Resource shortages
- Unforeseen technical challenges
To mitigate delays, build flexible timelines, and have contingency plans. Regularly review progress against your schedule and adjust as needed.
Unhappy customers
New features can sometimes disappoint or confuse users. To reduce the impact of unhappy customers, set clear expectations before the release. Once the feature is live, actively seek user feedback through surveys, forums, or direct outreach. Be ready to make quick adjustments based on this feedback to improve user experience.
Mistakes and bugs
New features can introduce bugs no matter how thorough your QA process is. To mitigate this:
- Have a robust testing phase during development.
- Consider a phased rollout to catch and fix issues before they affect all users.
- Establish a clear process for users to report problems.
- Ensure your product team can respond quickly to fix them.
How to mitigate
Here’s how you can combat most of these potential issues.
- Rapid response plans. Establish a plan for quickly addressing and fixing issues as they arise. Have a dedicated team ready to tackle critical bugs and communicate with users.
- Communication. Keep lines of communication open with your users. If something goes wrong, be transparent about the issue and what you’re doing to fix it. This can help maintain trust and reduce frustration.
- Feedback loops. Implement mechanisms to gather user feedback quickly after the release. This can help you identify and address issues before they become widespread.
- Iterate quickly. Be prepared to make fast iterations on your feature based on real user feedback. Quick iteration can turn a potentially negative user experience into a positive one.
Step 7: iterate on product features
After launching a new feature, the work isn’t over. You need to continuously refine and improve it based on user interactions. This ongoing iteration ensures your product remains relevant, helpful, and ahead of competitors. Here’s how to effectively iterate on your product features.
Use analytics
Start by diving into product analytics. This includes:
- Engagement metrics
- Feature usage patterns
- Time spent on new features
- Any other relevant statistics
Analytics can tell you how many people use the feature and how they use it. Look for trends, such as which aspects of the feature are most popular. Also, notice which are underused or causing users to drop off.
Gather user feedback
Yes, feedback again. User feedback is invaluable for understanding the real-world impact of your features. Collect feedback through:
- Surveys
- User interviews
- Support tickets
- Social media
- Feedback boards like Canny
- Sales calls
- Customer success interactions
Pay particular attention to what users say about what they like, what they don’t like, and what they wish the feature could do. This direct feedback can uncover insights not readily apparent from analytics alone.
When you make it easy for users to share feedback, they’ll be more likely to do so.
Analyze performance data
Performance data gives you insight into the technical aspects of your feature. This includes load times, error rates, and other performance metrics affecting user satisfaction. If a feature is technically underperforming, users are less likely to adopt it, regardless of its intended benefits.
Refine and iterate
Analytics, user feedback, and performance data can all help you make informed decisions about refining your feature. This might mean:
- Tweaking the user interface for better usability
- Adding new functionality based on user requests
- Improving the backend for better performance
The key is to prioritize changes that will have the most significant impact on user satisfaction and engagement.
Conclusion: how to do feature planning right
Effective feature planning involves several critical steps to a product’s success.
Start with in-depth knowledge of customer needs and behaviors through observation and feedback.
Prioritize feature ideas using tools and methods to ensure they’re innovative and aligned with user needs.
Select features that solve user challenges. Budget and allocate resources.
Implement features using a suitable development methodology.
Organize a detailed release plan. Anticipate and plan for potential issues like delays and bugs.
Post-launch, refine features based on analytics, feedback, and performance data.
Following these steps to ensure your product meets and exceeds user expectations. Happy building!


")
